The Comprehensive Guide to Car Wheel Bearing Installation
Posted by Hunt Parts on
Your car's wheel bearings are small yet essential components that play a significant role in the smooth operation of your vehicle. They allow your wheels to rotate freely while supporting the weight of your car. Over time, wheel bearings can wear out, causing unpleasant noises and compromising your safety. In this comprehensive guide, we'll walk you through the step-by-step process of installing new wheel bearings in your car. Whether you're a seasoned DIY mechanic or a beginner, this guide will help you complete the job with confidence.
Before You Begin
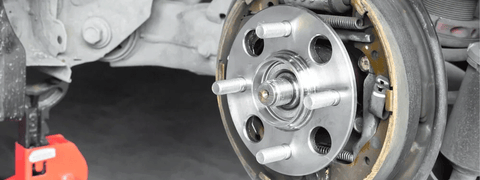
Before diving into the installation process, there are some important things to consider:
-
Safety First
Safety should always be your top priority when working on a car. Here are some safety precautions to follow:
- Work in a well-ventilated area.
- Wear safety glasses and gloves to protect your eyes and hands.
- Use a properly rated jack and jack stands to lift and support the car.
- Engage the parking brake to prevent the vehicle from rolling.
-
Gather the Necessary Tools and Parts
To successfully replace your car's wheel bearings, you'll need the following tools and parts:
- New wheel bearing assembly
- Jack and jack stands
- Lug wrench
- Socket and ratchet set
- Pliers
- Torque wrench
- Rubber mallet
- A container for storing small parts
- Vehicle-specific repair manual or documentation
Ensure you have all the required tools and the correct parts before beginning the installation.
-
Prepare Your Work Area
Create a clean, well-lit, and spacious workspace. Lay out your tools and organize them for easy access. Additionally, have some rags on hand to clean parts and wipe away any grease or dirt.
Step-by-Step Wheel Bearing Installation
Now, let's walk through the step-by-step process of replacing your car's wheel bearings:
Step 1: Lift the Car
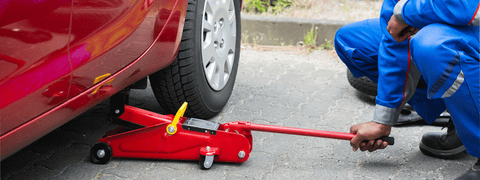
- Use the jack to lift your vehicle off the ground.
- Place jack stands under the car to provide stability and safety.
- Ensure the car is securely supported on the jack stands before proceeding.
Step 2: Remove the Wheel

- Use the lug wrench to remove the wheel from the hub.
- Place the lug nuts in a safe location, as you'll need them later.
Step 3: Access the Wheel Hub Assembly
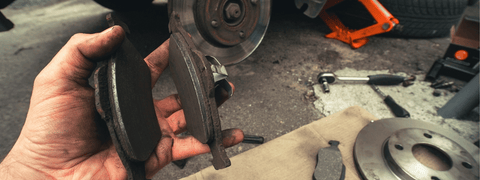
Depending on your vehicle's make and model, you may need to remove the brake caliper and rotor to access the wheel hub assembly. Follow these general steps:
1. Removing the Brake Caliper
- Locate the brake caliper bolts and use the appropriate socket and ratchet to remove them.
- Once the bolts are removed, carefully slide the brake caliper off the rotor.
- Hang the brake caliper using a wire or rope to avoid putting stress on the brake line.
- If your rotor is held in place by screws or retaining clips, remove them.
- Slide the rotor off the wheel hub.
Refer to your car's specific repair manual for detailed instructions on removing these components.
Step 4: Remove the Wheel Hub Nut
Locate the wheel hub nut, which holds the wheel hub assembly in place. Use the appropriate socket and ratchet to remove this nut. Be prepared for it to be tight, so ensure you have a good grip and apply steady pressure.
Step 5: Remove the Old Wheel Bearing Assembly
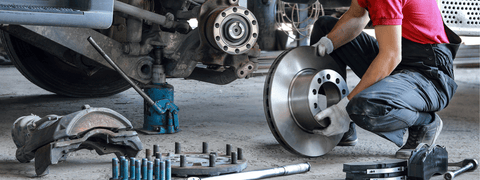
With the wheel hub nut removed, you can now proceed to remove the old wheel bearing assembly. Be cautious during this step to avoid damaging the wheel hub or other surrounding components. Here's how:
- Gently tap the old wheel bearing assembly with a rubber mallet to loosen it from the hub.
- Carefully slide the old assembly off the wheel hub.
Step 6: Install the New Wheel Bearing Assembly
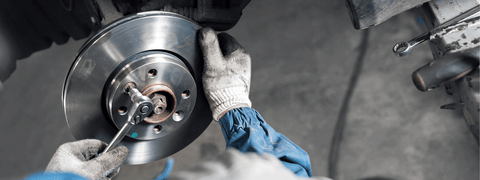
Now, it's time to install the new wheel bearing assembly. Here's how to do it correctly:
- Slide the new wheel bearing assembly onto the wheel hub.
- Ensure that it aligns perfectly with the hub's mounting points.
Step 7: Torque the Wheel Hub Nut
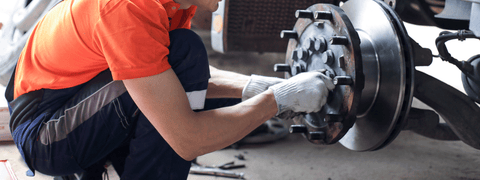
Properly torqueing the wheel hub nut is crucial to prevent over-tightening or under-tightening, which can lead to problems. Follow these steps:
- Use your torque wrench to tighten the wheel hub nut to the manufacturer's recommended torque specification. Refer to your vehicle's repair manual for this specific value.
- Ensure you use the correct torque setting for your car, as it can vary.
Step 8: Reassemble the Brake Components
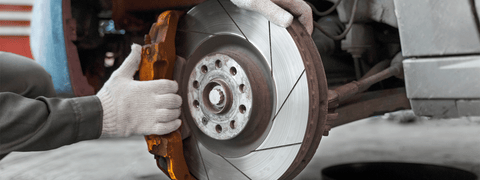
If you removed the brake caliper and rotor earlier, it's time to reassemble them. Follow these steps:
1. Reattaching the Rotor- Slide the rotor back onto the wheel hub.
- Secure it in place with any screws or retaining clips you removed earlier.
- Carefully slide the brake caliper back over the rotor.
- Reattach the caliper bolts and tighten them to the manufacturer's specifications.
- Remove the wire or rope holding the caliper in place.
Step 9: Reattach the Wheel
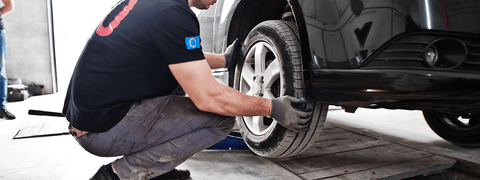
Place the wheel back onto the hub and hand-tighten the lug nuts as much as possible. Ensure the wheel is centered correctly on the hub.
Step 10: Lower the Car

Carefully lower the car from the jack stands using the jack. Make sure it's a gradual and controlled descent.
Step 11: Torque the Lug Nuts

Once the car is back on the ground, use your torque wrench to tighten the lug nuts to the manufacturer's specifications. Tighten them in a star or cross pattern to evenly distribute the pressure.
Step 12: Test Drive and Final Checks

Take your car for a short test drive to ensure everything is functioning correctly. Listen for any unusual noises, and pay attention to the steering and braking performance. If everything feels and sounds normal, your wheel bearing installation was successful!
Conclusion
Replacing your car's wheel bearings may seem like a daunting task, but with the right tools, proper safety precautions, and step-by-step guidance, it's a manageable DIY project. Regular maintenance and periodic checks of your wheel bearings can help prevent premature wear and damage, ensuring a safe and smooth ride for you and your passengers. However, if you're ever unsure about any step or encounter difficulties, it's always wise to consult a professional mechanic. Safety should always come first, and a qualified technician can ensure your wheel bearings are installed correctly for your peace of mind on the road.
Share this post
0 comment

